Introduction to Installing a Backup Camera
Installing a backup camera is an excellent way to enhance your vehicle’s safety and convenience. These devices provide a clear view of the area behind your car, significantly reducing the risk of accidents while reversing or parking. Here’s a step-by-step introduction to installing a backup camera system:
Choose the Right Backup Camera System
Select a backup camera that suits your vehicle type and requirements. Factors to consider include camera resolution, viewing angle, whether it’s wired or wireless, compatibility with your existing infotainment system, and any additional features like night vision or motion detection.
Gather Tools and Materials
Before starting the installation, ensure you have the necessary tools such as wire strippers, electrical tape, crimping tools, and possibly a multimeter. You’ll also need the camera kit which should include the camera, monitor, wiring harness, and potentially mounting brackets or adhesive pads.
Install the Backup Camera
- Mounting: Find a suitable location for the camera – usually at the top center or license plate area. Follow the manufacturer’s instructions on how to securely mount the camera using screws or adhesives.
- Wiring: Connect the camera to a power source, typically the reverse light circuit so it activates when you shift into reverse gear. If it’s a wired system, route the video cable from the camera to the monitor (usually located on the dashboard) following the provided guidelines to avoid damage to the wires.
Install the Monitor
- Dashboard Mounting: For aftermarket systems, install the monitor either on the dash or windshield using a suction cup or custom mount. Integrated systems may require professional installation to tie into the factory screen.
- Power Connection: Connect the monitor to a constant power source (for always-on display) or to an accessory circuit (to turn on/off with the ignition).
Wiring and Configuration
- Wire Connections: Ensure all wires are connected properly and secured with electrical tape or wire looms to prevent shorts. Ground the system correctly according to the instructions.
- System Calibration: Some cameras may require calibration for distance or orientation. Follow the manual to adjust the camera angle for a proper rear view.
- Testing: Test the system by shifting into reverse. The camera should turn on automatically, and the monitor should display the rearview image.
Fine-Tuning and Troubleshooting
After the initial setup, fine-tune the camera angle and settings for optimal visibility. If you encounter any issues, refer to the troubleshooting section above for common problems and solutions.
Remember, if you’re not comfortable with electrical work or if your vehicle has a complex wiring system, consult a professional installer to ensure the job is done safely and efficiently.
Pre-Installation Preparation
Start by selecting the right backup camera system for your vehicle. Consider factors like camera resolution, night vision capabilities, wireless vs. wired systems, and compatibility with your car’s dashboard screen or aftermarket monitors. Gather all necessary tools such as wire strippers, crimping tools, electrical tape, and a screwdriver set.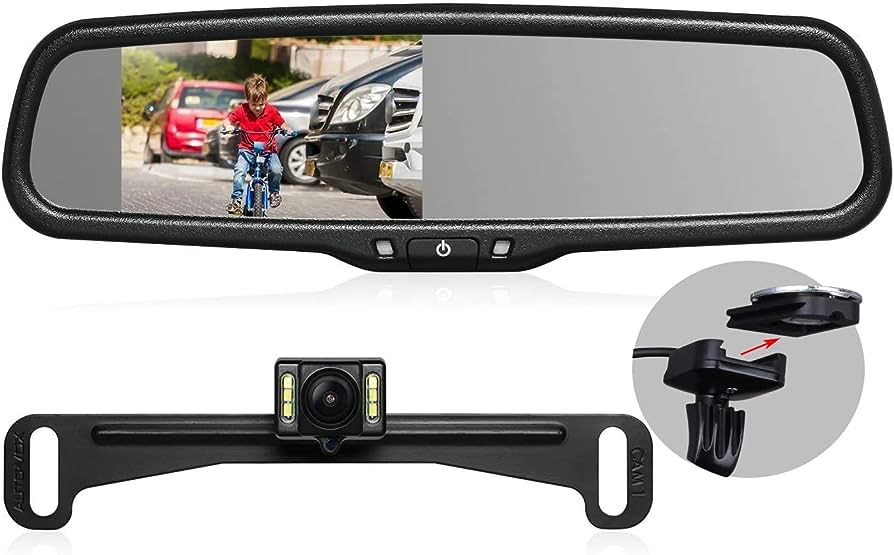
Mounting the Backup Camera
First, find a suitable location for the camera. Typically, it’s installed near the license plate or above the tailgate handle. Clean and dry the mounting area thoroughly before drilling any holes if required. Securely attach the camera using provided brackets and screws, ensuring it has a clear view of the rear without obstruction.
Routing the Cables
Run the camera cable from its mount into the vehicle’s interior. Use existing gaps in the bodywork or drill small holes where needed, making sure to seal them properly to prevent water ingress. Route the cable along the roof lining, under the trim, and towards the front of the vehicle, aiming to reach the dashboard area.
Connecting to Power Supply
Connect the camera power cable to a reverse light circuit. When the vehicle shifts into reverse, the camera should turn on automatically. If you have a multimeter, test the wires to identify the correct reverse light wire. Crimp or solder the connections and protect them with heat shrink tubing.
Wiring to the Monitor
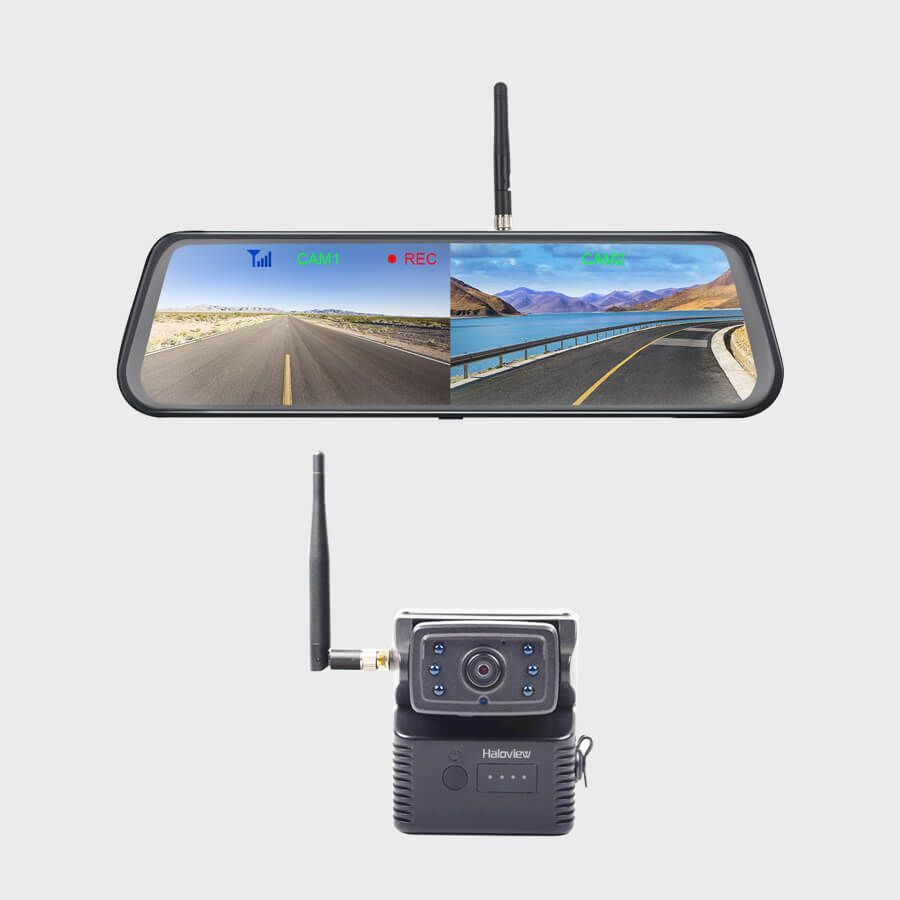
For Wired Systems: Connect the video cable from the camera to the input of your monitor. This could be directly to the head unit if it supports a rearview camera input, or to a separate dedicated monitor.
For Wireless Systems: Pair the camera and monitor according to the manufacturer’s instructions. Ensure both devices are powered up and within range to establish a stable wireless connection.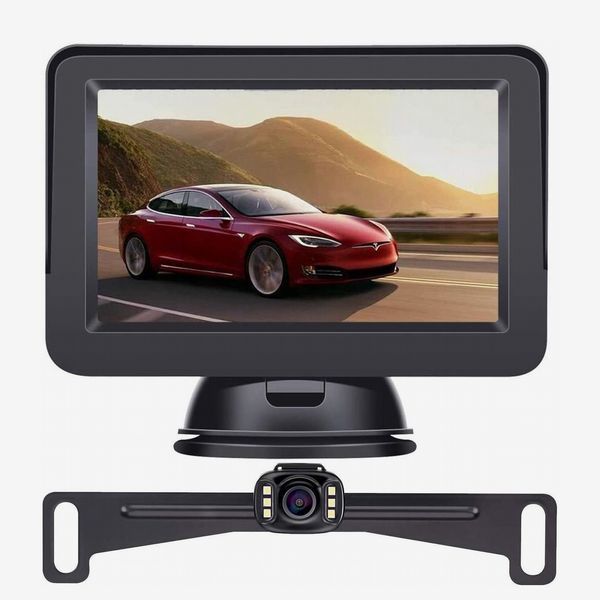
Calibration and Testing
Once all wiring is complete, turn on the ignition and shift into reverse. The backup camera image should appear on the screen. Adjust the camera angle if needed to get a full view of the rear. Check the clarity of the picture, adjust brightness and contrast settings if possible, and test the camera in different lighting conditions to ensure it’s functioning optimally.
Troubleshooting Common Issues During Backup Camera Installation
When installing a backup camera, it’s not uncommon to encounter some issues. Here is a detailed guide on how to troubleshoot common problems that might arise:
No Image on the Monitor
- Check Power Connections: Ensure the camera is correctly connected to the reverse light circuit or an always-on power source if it doesn’t have auto-switching capability. Use a multimeter to verify that there’s power reaching the camera when the car is in reverse.
- Inspect Video Cable: Confirm that the video cable hasn’t been damaged during installation and that both ends are securely plugged into the camera and monitor. If using a wireless system, ensure the batteries are charged and the devices are paired.
Poor Image Quality
- Adjust Camera Angle: A misaligned camera can lead to poor visibility. Adjust the angle until you get a clear view of the rear. Check for any obstructions like dirt or debris on the lens as well.
- Optimize Settings: Many cameras allow for brightness, contrast, and color adjustments. Tweak these settings until the image is sharp and visible in various lighting conditions.
- Signal Interference: For wireless systems, signal interference could be the cause of a grainy or distorted image. Move any potential sources of interference (like Bluetooth devices) away from the camera and monitor, and check the manufacturer’s suggested range.
Delayed Activation
- Reverse Light Wiring: If the camera does not turn on immediately when reversing, double-check that the wiring is connected to the correct reverse light wire. The camera should activate when the reverse lights come on.
- Switches or Sensors: Some aftermarket systems use sensors or switches to detect reverse gear engagement. Make sure these components are functioning correctly and installed properly.
Persistent Display or No Switch Off
- Incorrect Trigger Wire: If the camera stays on even when not in reverse, it may be receiving constant power. Verify that you’ve connected to the right wire in the reverse light circuit.
- Auto-Dimming Feature: Some monitors have an auto-dimming feature that could interfere with the camera display. Consult your user manual to learn how to disable this feature when needed.
Connectivity Issues (Wireless Systems Only)
- Re-pairing: If the connection between the camera and monitor drops, try re-pairing the devices following the manufacturer’s instructions.
- Interference or Distance: Ensure the camera and monitor are within their recommended operational distance. In case of strong electromagnetic interference, relocate the devices or consider shielding cables.
Remember, each backup camera system may have unique quirks or requirements. Always consult the specific product manual before attempting any troubleshooting steps. And if all else fails, don’t hesitate to reach out to the manufacturer’s technical support or seek professional assistance to avoid causing damage to your vehicle’s electrical system.