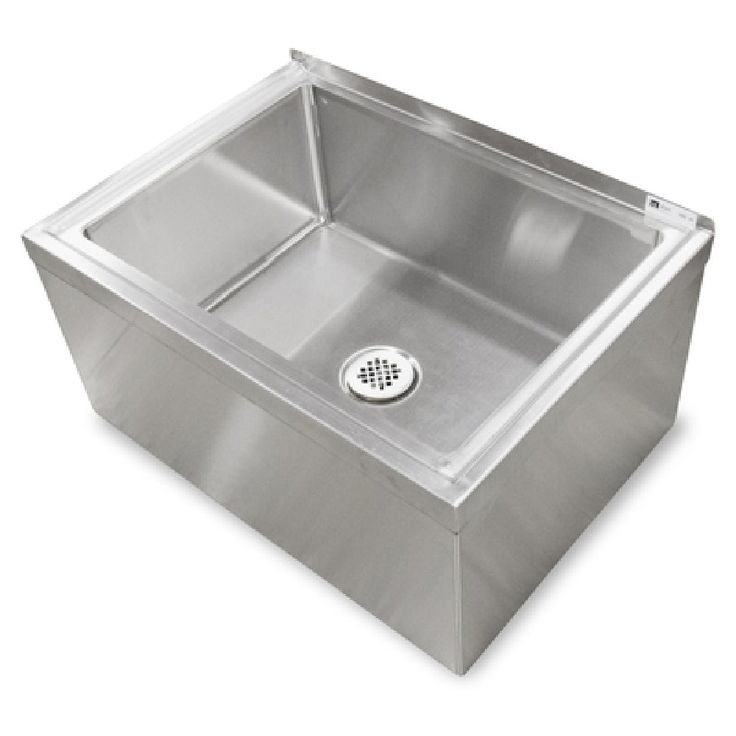
The Importance of Regular Mop Sinks Cleaning
Maintaining a clean mop sink is paramount in any maintenance or janitorial regime. A dirty mop sink can become a breeding ground for bacteria and germs, leading to contamination and spreading of illness throughout a facility. Regular mop sink cleaning ensures a hygienic environment and extends the lifespan of both the sink and the mops. It also helps prevent clogs and unpleasant odors, which can negatively impact workplace conditions.
Here are key reasons why regular mop sinks cleaning should be a priority:
- Health and Safety: Regular cleaning reduces the risk of cross-contamination, keeping employees and visitors safe.
- Efficiency: Clean mops work more effectively, leading to better cleaning results across the entire facility.
- Odor Control: Frequent cleaning helps eliminate persistent foul odors originating from stagnant water and organic material accumulation.
- Clog Prevention: Debris and dirt can lead to clogs, causing plumbing issues. By cleaning regularly, you prevent clogs before they occur.
- Durability: A well-maintained mop sink is less likely to suffer from wear and tear, ultimately saving costs on repairs or replacements.
Set a cleaning schedule and stick to it. Clean the mop sinks after each usage and perform deep cleaning at least once a week. Always wear protective gloves and use the appropriate cleaning supplies for the job. Remember, a clean mop sink reflects the standards of cleanliness and hygiene maintained throughout your facility.
Best Practices for Mop Sink Maintenance
Maintaining a mop sink may seem straightforward, but there are best practices that can make a significant difference. These practices ensure that you maintain a high level of cleanliness and longevity for your mop sink. Here are the essentials for effective mop sinks maintenance:
- Regular Inspection: Check the mop sinks routinely for signs of wear or damage. Address issues early to prevent bigger problems.
- Immediate Clean-up: Do not let dirt and grime build up. Clean the sink after every use to prevent residue from hardening.
- Use Proper Cleaners: Choose cleaning supplies designed for mop sinks. They remove dirt without damaging surfaces.
- Thorough Rinsing: Always rinse the sink thoroughly after cleaning. This prevents cleaning agent buildup, which can cause damage over time.
- Soft Brushes: Use soft-bristled brushes for scrubbing. They are effective yet gentle on the sink’s surface.
- Dry After Washing: After rinsing, dry the sink to prevent water stains and growth of mildew.
- Deep Clean Regularly: Set aside time each week for a deeper clean. This may involve scrubbing more vigorously and reaching into corners.
- Monitor Drain Health: Keep an eye on how quickly the water drains. Slow drainage may indicate a clog is forming.
By implementing these best practices, you ensure that your mop sink remains in top condition, reducing repair costs and improving cleaning efficiency.
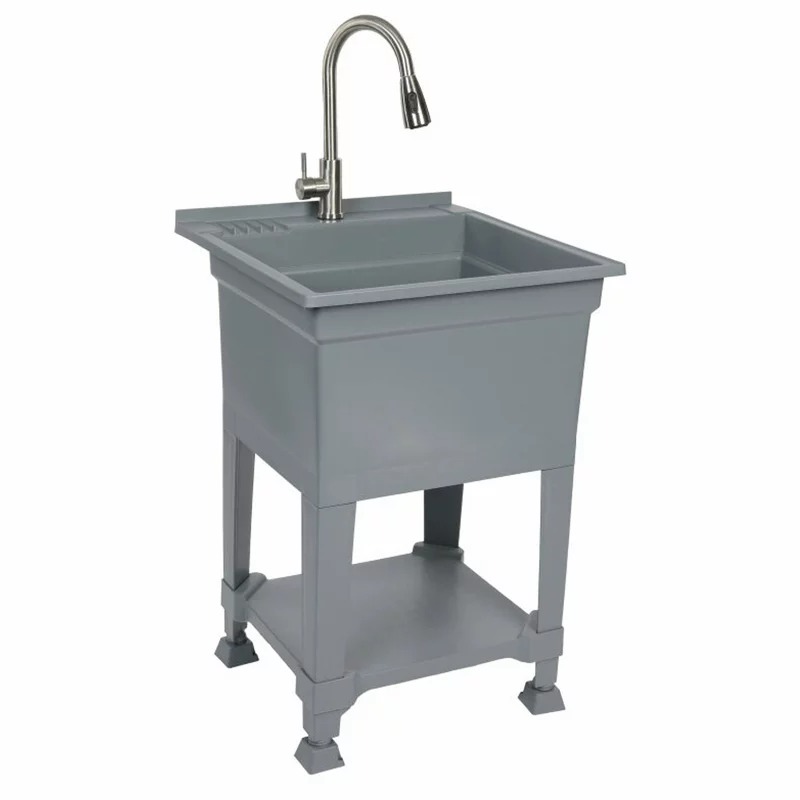
Essential Cleaning Supplies for Your Mop Sink
To maintain a clean and efficient mop sink, certain supplies are critical. Having the right tools not only simplifies the task but also enhances safety and cleanliness. Remember to keep these supplies stocked for regular use:
- Disinfectants: These are vital to kill germs and bacteria. Opt for EPA-approved disinfectants for effective results.
- All-Purpose Cleaners: They work on a variety of surfaces and remove general dirt and grime.
- Degreasers: Use degreasers for tough residues like oil or grease, which are common in mop sinks.
- Durable Gloves: Protect your hands from chemicals with heavy-duty gloves.
- Soft-Bristled Brushes: Brushes with soft bristles safeguard the sink’s surface while removing dirt.
- Mop and Bucket: Obviously essential, they should be clean before you start cleaning the sink.
- Microfiber Cloths: They’re great for drying the sink and wiping away residue without scratching the surface.
- Plunger: Keep a plunger on hand to deal with potential clogs quickly.
- Drain Cleaner: Use enzymatic drain cleaners as a safe option for routine maintenance.
- Bleach: It has strong disinfectant properties but use it sparingly to avoid damage.
These supplies form the basis of your mop sinks maintenance kit, making routine cleans efficient and thorough. Remember, using the appropriate supplies not just adds to the cleanliness but increases the lifespan of your mop sink. Combine the use of these tools with the best practices outlined earlier to ensure a pristine and fully functional mop sink.
Step-by-Step Guide to Cleaning a Mop Sink
Cleaning your mop sink doesn’t have to be complex. Here’s a simple step-by-step guide to make sure you do it right every time.
- Gather Supplies: Before you start, make sure you have all your essential supplies. This includes disinfectants, all-purpose cleaners, degreasers, gloves, soft-bristled brushes, a mop and bucket, microfiber cloths, a plunger, drain cleaner, and bleach if necessary.
- Wear Gloves: Safety first. Put on those heavy-duty gloves to protect your hands from harmful chemicals.
- Empty the Sink: Remove any debris or loose objects from the mop sink.
- Pre-Rinse: Use your mop to rinse the sink with water, removing any loose dirt.
- Apply Cleaner: Spread your chosen all-purpose cleaner or degreaser evenly across the surface. For tough stains, you might need to let it sit for a few minutes.
- Scrub Thoroughly: Take your soft-bristled brush and scrub the sink. Pay extra attention to corners and edges where grime builds up.
- Rinse Again: Rinse away all the cleaning agents with water. Make sure no residue is left.
- Disinfect: Apply disinfectant to kill any lingering germs. Follow the product’s instructions for the best results.
- Dry the Sink: Use microfiber cloths to dry the sink completely. This helps prevent water stains and mildew.
- Inspect the Drain: Ensure water drains quickly. If it’s slow, use your plunger. For persistent clogs, try a drain cleaner.
By following this guide, your mop sink stays clean and in good working order. Regular cleaning ensures hygiene and keeps your facility safe and pleasant.
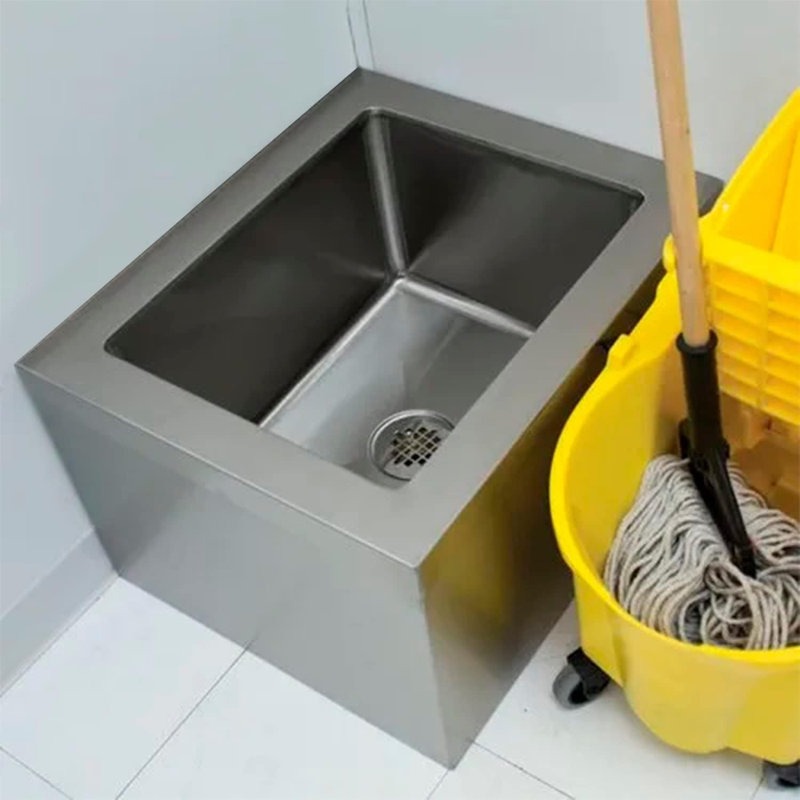
Common Issues with Mop Sinks and How to Solve Them
Despite routine maintenance, mop sinks can encounter problems. Being aware of common issues helps you prevent or fix them swiftly. Here’s what to look out for and how to address these concerns:
- Slow Draining or Clogs: Clogs in the drain can slow water flow. Use a plunger or a drain cleaner recommended for mop sinks. For stubborn clogs, a professional plumber might be necessary.
- Stains and Residue: Hard water, chemicals, and dirt can cause stains. Regular cleaning with appropriate all-purpose cleaners can keep stains at bay. For tough cases, consider a mild abrasive cleaner.
- Odor Issues: A smelly mop sink can signal stagnant water or organic buildup. Clean daily and use disinfectants to kill odor-causing bacteria. Enzymatic cleaners might also help in breaking down organic matter.
- Cracks or Damage: Physical damage can lead to leaks and other complications. Inspect your sink often and address any damage immediately to avoid worsening the issue.
- Rust Formation: Metal sinks may develop rust. To prevent this, keep the sink dry after use and treat any rust spots early with a rust remover.
Reacting promptly to these common mop sink issues helps maintain a clean, functional, and safe workspace. Always combine regular care with quick action when problems occur to keep your mop sink in optimal condition.
Tips for Preventing Mop Sink Clogs and Odors
To maintain a clean and functional mop sink, preventing clogs and odors is crucial. Here are practical tips to help you avoid these common problems:
- Regularly Clear Debris: After each use, remove bits of dirt or debris. This simple step can stop clogs before they start.
- Hot Water Flush: Once a week, run hot water through the drain. This can help dissolve and wash away grease that may cause clogs and odors.
- Use Enzymatic Cleaners: Enzymatic cleaners break down organic matter, preventing clogs and neutralizing odors. Consider using them in your routine.
- Don’t Pour Grease Down: Never pour grease or oil into the mop sink. They solidify and cause blockages as well as bad smells.
- Maintain P-Traps: These traps prevent sewer gases from coming up the drain. Ensure they are always filled with water.
- Regular Disinfection: Apply disinfectant to kill bacteria, which can cause odors. Do this regularly after cleaning your mop sink.
- Ventilation: Ensure good airflow in the mop sink area. Ventilation helps to remove odors and keeps the area dry.
Incorporating these tips into your maintenance routine will help you avoid the hassle of a clogged or smelly mop sink, offering a pleasant work environment. Keep your mop sink in top shape to prevent bigger issues down the line.
The Do’s and Don’ts of Mop Sink Usage
Ensuring the proper use of a mop sink is critical for maintenance efficiency and hygiene. There are several do’s and don’ts that you should keep in mind to prevent damage to your sink and to maintain a clean, safe work environment.
Do’s
- Do Rinse After Use: Always rinse your mop sink after use to remove any loose debris.
- Do Use Appropriate Cleaners: Use cleaners designed for mop sinks to avoid damaging surfaces.
- Do Scrub Regularly: This ensures the removal of grime that can cause clogs and odors.
- Do Disinfect: Apply disinfectant to eliminate bacteria and germs after cleaning.
- Do Keep the Area Dry: After washing and rinsing, dry the area to prevent mildew growth.
- Do Inspect Regularly: Look for signs of wear or damage frequently to catch issues early.
Don’ts
- Don’t Use Abrasive Materials: Harsh scrubbers can scratch and damage the sink surface.
- Don’t Ignore Clogs: Take action immediately when you notice slow drainage.
- Don’t Delay Cleaning: Avoid letting the dirt settle, which makes it harder to clean later.
- Don’t Use Excessive Bleach: Bleach can corrode certain materials; use it sparingly.
- Don’t Pour Hazardous Chemicals: Dispose of harmful chemicals properly, not in the mop sink.
- Don’t Overlook Safety Gear: Always wear gloves and other protective gear when cleaning.
By adhering to these do’s and don’ts, you ensure that your mop sink is used appropriately, contributing to the overall efficiency and cleanliness of your cleaning processes. A mop sink that’s treated with care and used correctly will serve well for a long time, reflecting the hygiene standards of your entire facility.
Ensuring Safety in Mop Sink Areas
Maintaining a mop sink goes beyond just keeping it clean; safety measures are also critical. Here’s how you can ensure safety in areas where mop sinks are used:
- Keep the Area Clear: Make sure the space around the mop sink is always clear. This helps prevent trips and falls.
- Proper Signage: Use signs to warn when the floor is wet. Good signs can alert staff and visitors alike, reducing the risk of accidents.
- Anti-slip Mats: Place mats with anti-slip properties near the mop sink. They can soak up spills and offer stable footing.
- Regular Checks: Inspect the sink and its surroundings for potential hazards. Things like loose tiles or uneven floors need fixing right away.
- Staff Training: Teach staff how to use, clean, and maintain mop sinks safely. Knowledgeable employees are less likely to get hurt.
- Personal Protective Equipment (PPE): Encourage the use of goggles and gloves when using chemicals. They protect against splashes and spills.
- Emergency Plan: Have clear procedures for handling emergencies like chemical spills. Quick responses keep everyone safe.
By focusing on these simple, effective steps, you enhance the safety of everyone using the mop sink area. A safe mop sink area is a crucial part of a well-maintained facility.