The camera flash on an iPhone is a feature designed to illuminate your photos in low-light conditions. While it’s a helpful tool, it can sometimes flash unexpectedly, puzzling users. This article will explore the iPhone camera flash’s functionalities and provide insight into why it might flash unexpectedly, helping you to take better control of your photography experience.
Mastering the iPhone Camera‘s Flash Settings for Better Photography
The iPhone camera is a powerful tool, and its flash settings play a significant role in capturing high-quality photos under various lighting conditions. Here’s a comprehensive guide to exploring and understanding the different flash options on your iPhone: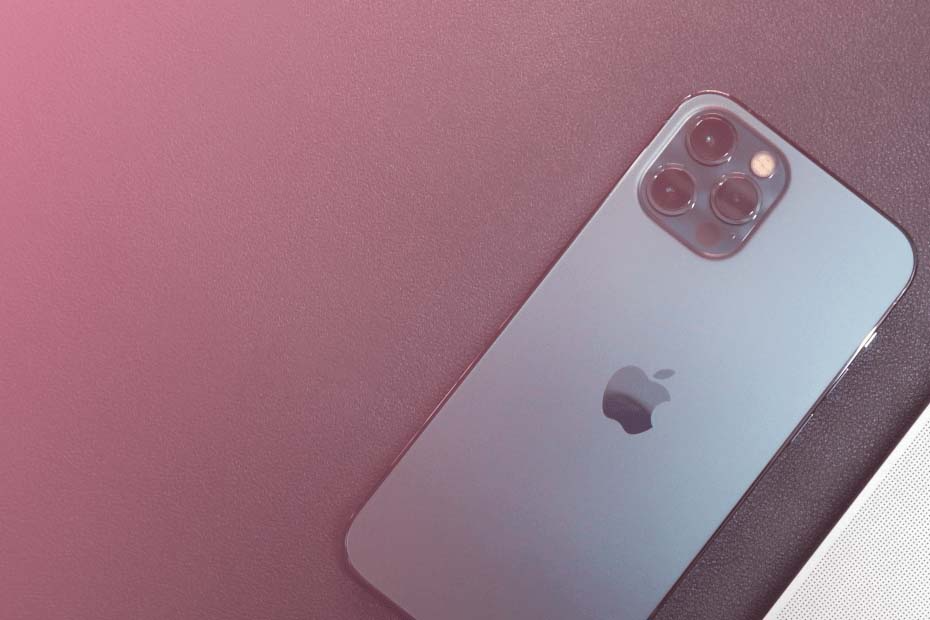
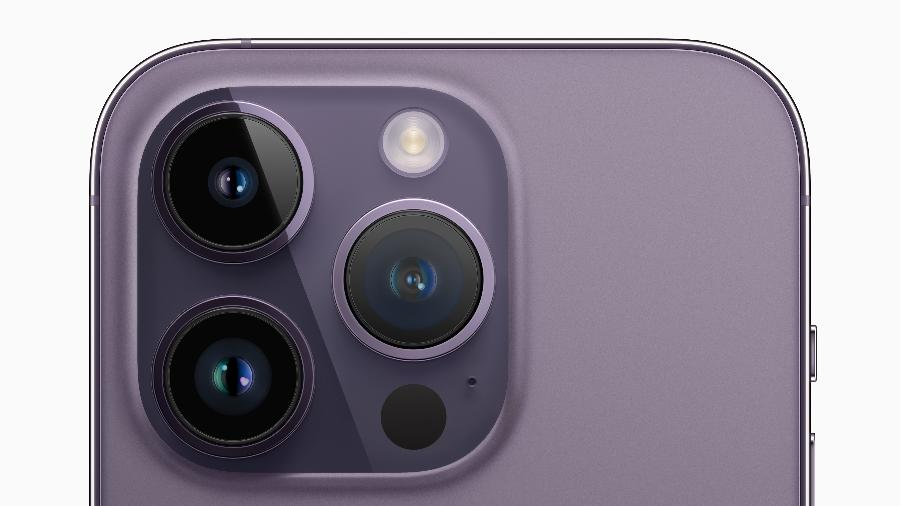
Built-in Flash Overview
Every iPhone model comes with an LED flash that can illuminate subjects in low-light situations. It’s particularly useful when shooting indoors or at night. The flash automatically adjusts brightness based on the environment and proximity of the subject.
Flash Modes
- Auto: This is the default setting, where the iPhone decides whether to use the flash based on the ambient light. If it detects insufficient light, the flash will automatically turn on.
- On: When set to “On,” the flash will always fire when you take a photo, ensuring that your subject is illuminated regardless of the available light.
- Off: As the name suggests, this disables the flash entirely. This mode is suitable when you want to capture images naturally without artificial light or when using the flash is not allowed (like in museums).
- Smart HDR with Flash: On newer iPhone models, the Smart HDR feature works together with the flash to balance out bright and dark areas in a scene, providing more detail and natural colors even in challenging lighting scenarios.
- Slow Sync: This mode combines a longer shutter speed with the flash, which can be beneficial when shooting in low light with moving subjects. It helps to capture both the background and the subject well-lit.

Adjusting Flash Intensity
iPhone does not offer manual control over the intensity of the flash, but the exposure adjustment slider can indirectly affect the flash output by altering the overall exposure of the image.
Using the Torch Feature
In addition to the standard flash modes during photography, iPhones also have a ‘Torch’ feature accessible from the Control Center, which allows you to use the flashlight continuously, independent of the camera app.
Flash Alternatives
Consider using Night Mode, which intelligently brightens up images in dim environments without the harshness of a flash, or adjust the camera settings such as ISO and exposure manually if available. For professional-looking results, consider investing in external lighting accessories like portable LED lights or utilizing the ambient light sources effectively.
By mastering these flash settings and techniques, you’ll be better equipped to handle diverse lighting conditions and produce stunning photographs with your iPhone camera.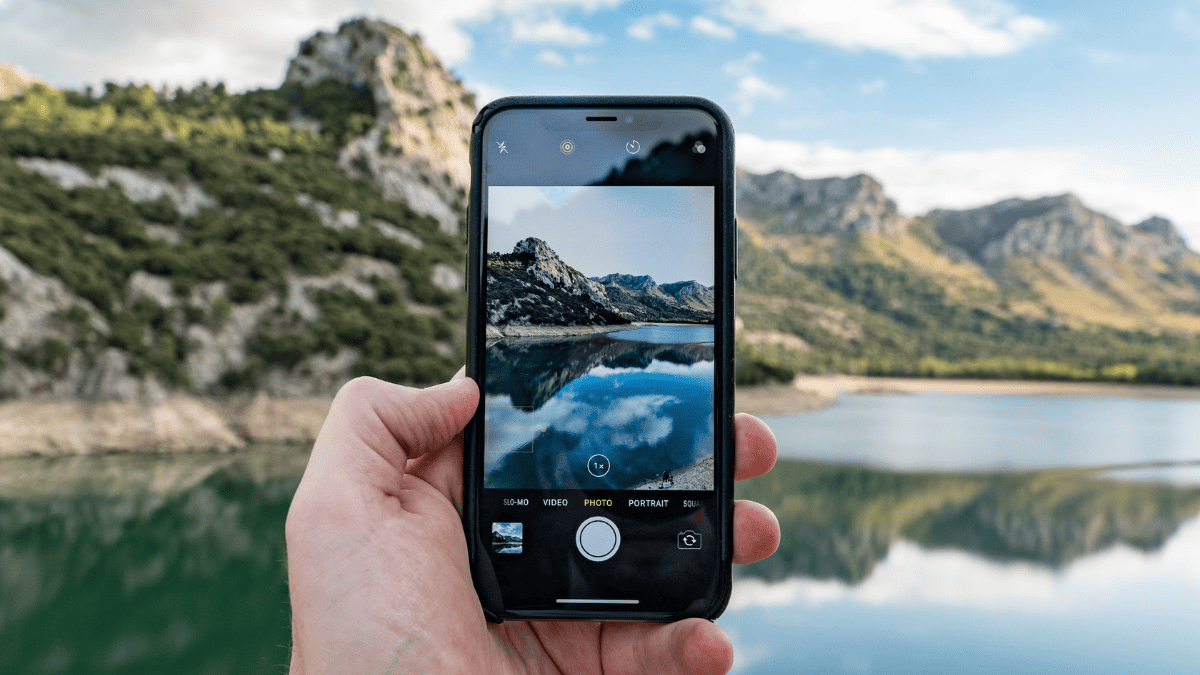
Automatic Flash Mode
In Auto mode, the iPhone decides when the flash is necessary based on the ambient lighting conditions. This mode is useful for casual photography when you want the camera to make quick adjustments on the fly.
Manual Flash Activation
Choosing the On mode forces the flash to fire with every photo, which can be useful when you’re in a consistently dim environment or want to ensure the flash fires.
Disabling the Flash
The Off mode disables the flash entirely, which is ideal for natural light photography or when you want to avoid washing out the subject with harsh lighting.
Troubleshooting Unexpected Camera Flashing
When your Blink camera starts flashing unexpectedly, it could be an indication of various issues. Here’s a step-by-step guide to diagnose and resolve this problem:
- Power Source: Ensure the camera is receiving adequate power. If using batteries, check their charge levels or replace them with fresh ones. For wired models, verify that the power outlet is functioning correctly.
- Status Indicator: Different flashing patterns mean different things in Blink cameras. Refer to the user manual or Blink’s official support documentation to interpret the specific flashing pattern your camera is exhibiting.
- Wi-Fi Connectivity: Poor Wi-Fi signal can lead to erratic behavior. Check if the camera is within range of your Wi-Fi network and experiencing stable connectivity. You may also want to try resetting your router or adjusting the placement of your camera for better reception.

- Firmware Update: An outdated firmware might cause unusual behaviors. Check for any available firmware updates through the Blink app and install them if needed.
- Sync Module Interaction: If you have a Sync Module, ensure it’s properly connected and has the latest firmware as well. Sometimes, syncing issues between the camera and module can result in flashing lights.
- Motion Detection Settings: Review your motion detection settings. Incorrect sensitivity or zone settings might trigger the camera unnecessarily, leading to flashing.
- Temporary Glitches: A simple restart can often fix temporary software glitches. Try removing the camera from the app, then reset and re-add it following the setup instructions.
- Overheating: If the camera has been exposed to direct sunlight or high temperatures, it might flash due to overheating. Relocate the camera to a cooler spot and see if the issue persists.
- Contact Support: If none of these steps resolves the issue, reach out to Blink customer support. They can provide more detailed troubleshooting steps based on your specific model and situation.
Remember, regular maintenance, keeping all components updated, and ensuring proper environmental conditions can help prevent many common issues like unexpected camera flashing.
Understanding the Flash for Alerts
One reason for unexpected flashing is the ‘LED Flash for Alerts’ feature, which is designed for users who need visual cues for notifications. This setting can be found in the Accessibility menu and can be toggled off if not required.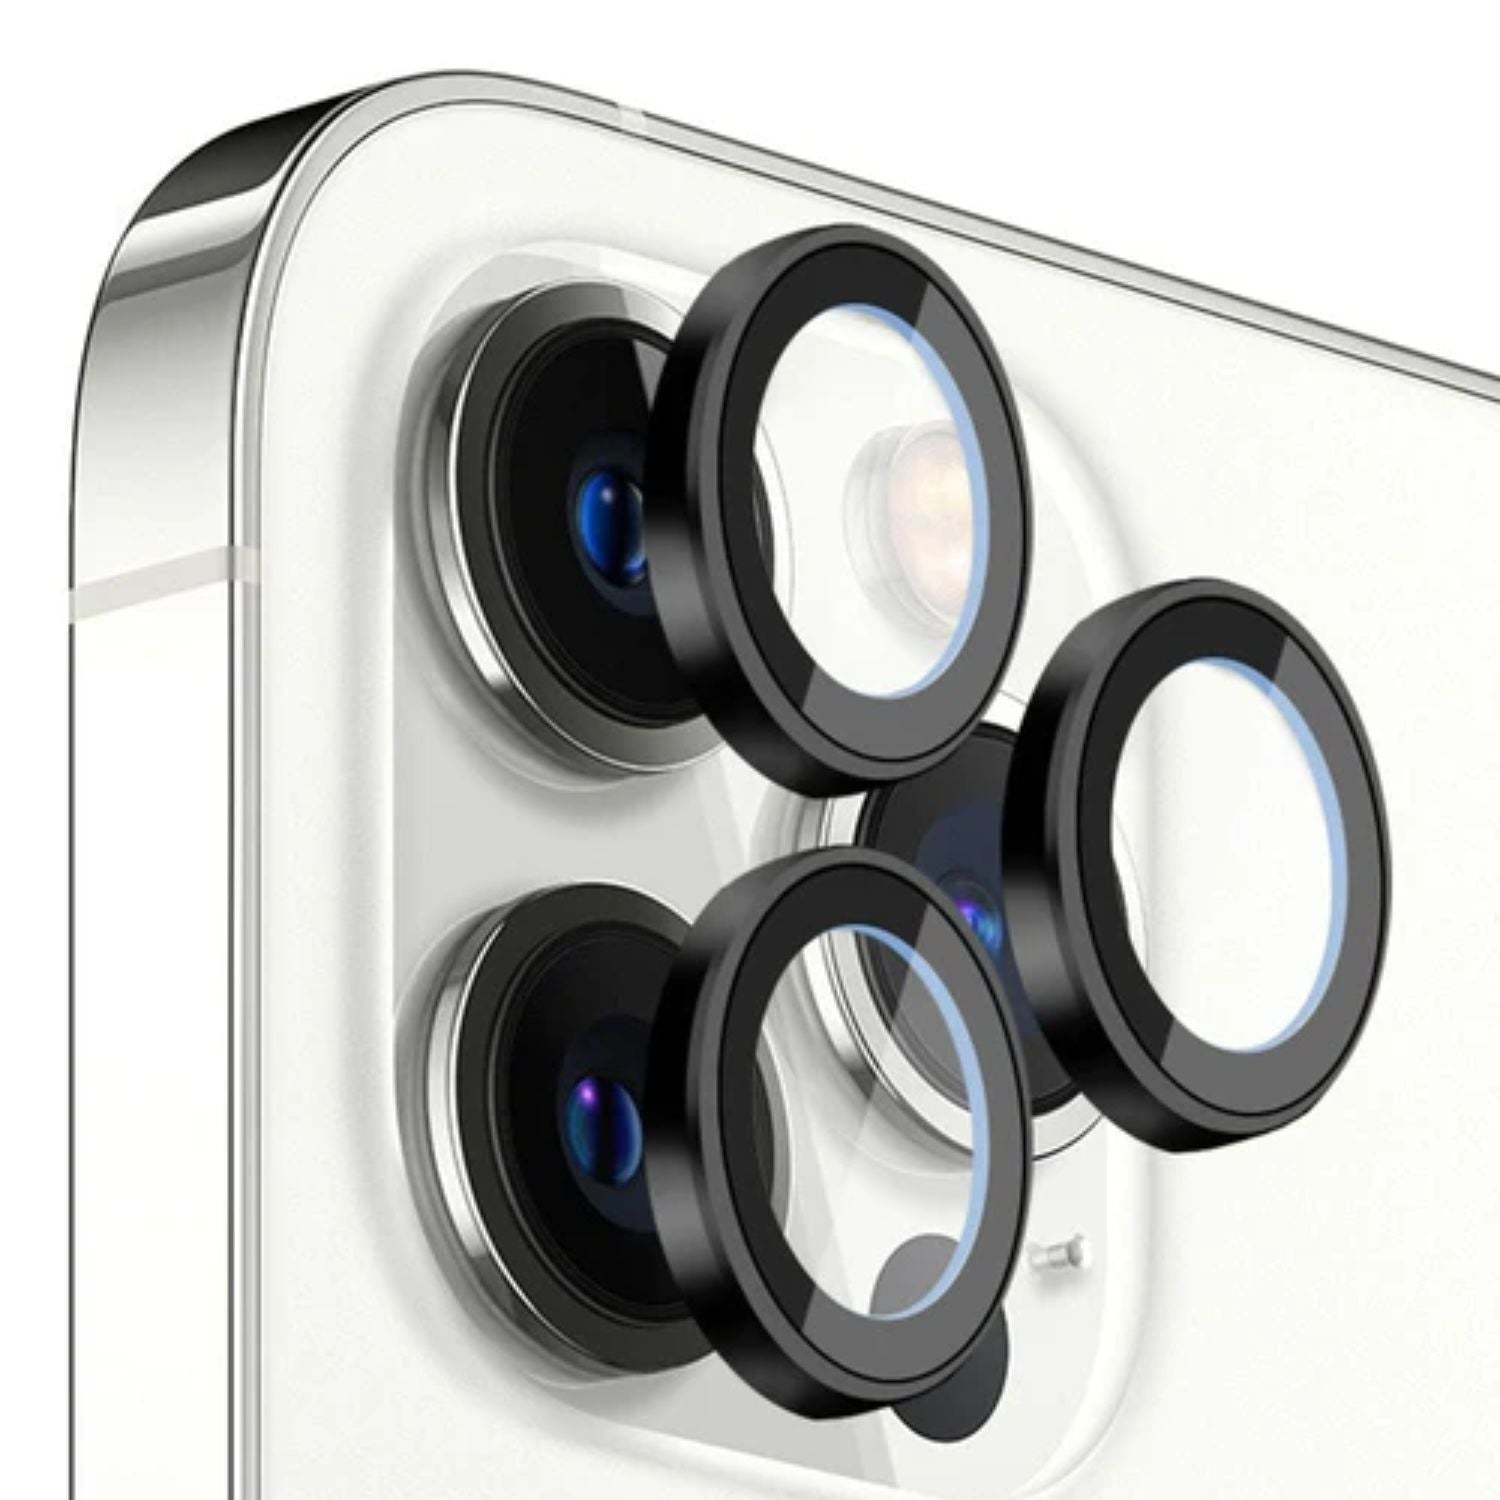
Reflection Detection and True Tone Flash
The iPhone’s camera system includes advanced reflection detection, which can trigger the flash if it senses a reflective surface. Additionally, the True Tone flash technology might fire in an attempt to match the ambient lighting color temperature, creating a more balanced and natural-looking photo.
Understanding the functionalities of the iPhone camera flash and navigating its settings can greatly enhance your photography. Whether you’re dealing with unexpected flashing or trying to capture the perfect shot in low light, getting to grips with your iPhone camera‘s flash settings is key.