
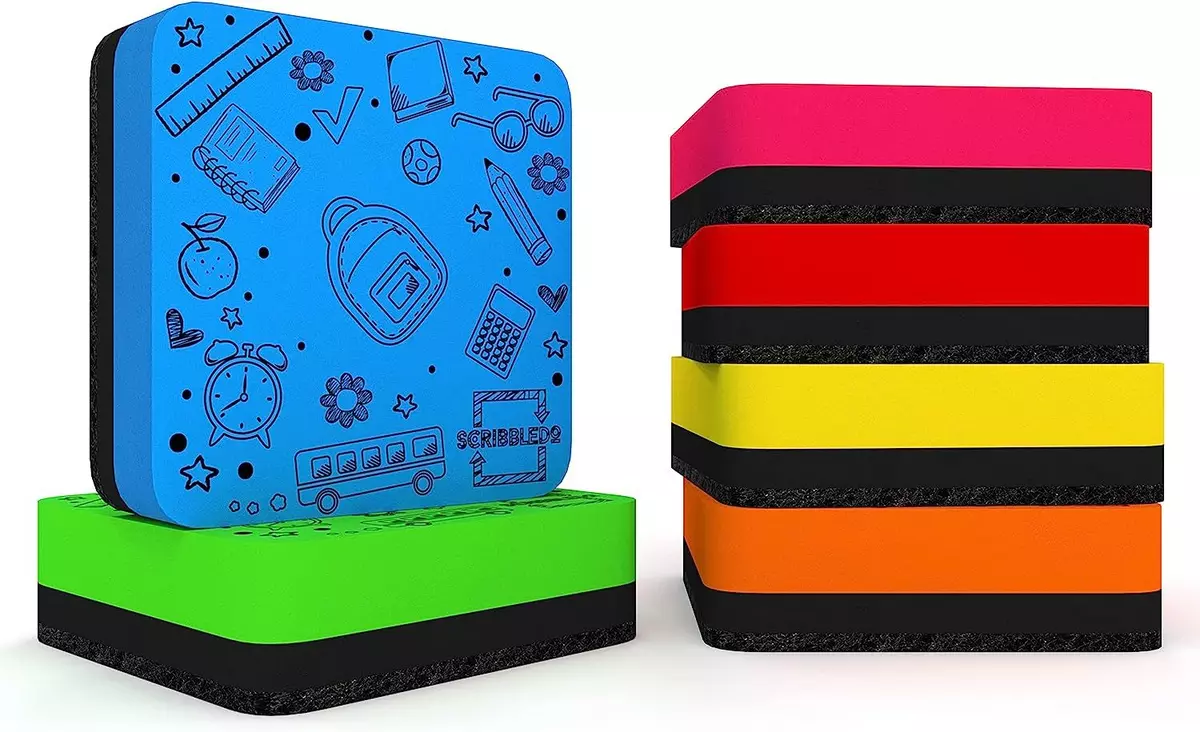
Introduction:
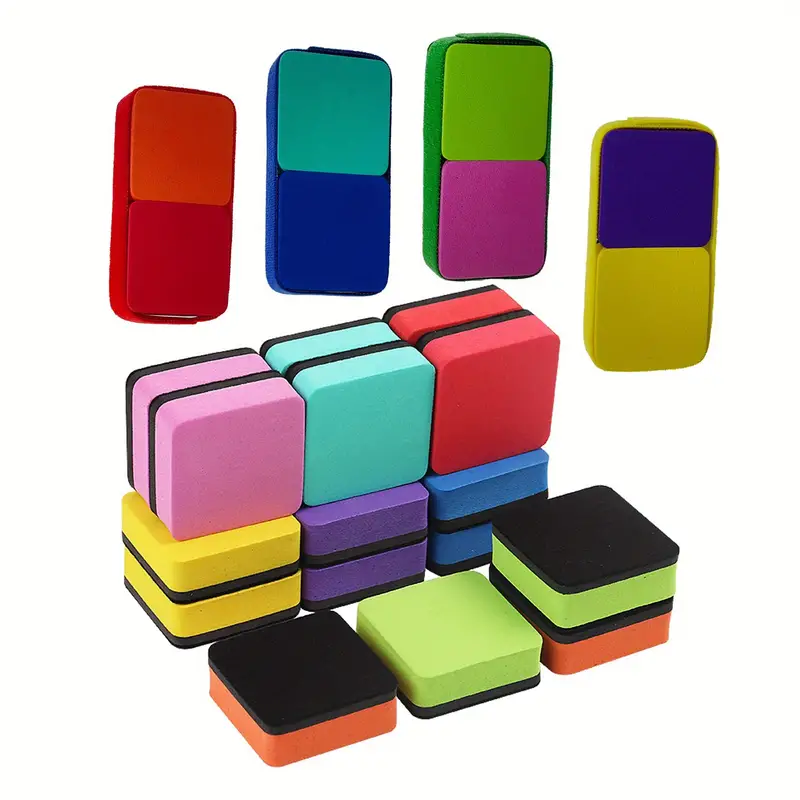
Dry erase boards are a popular tool in various settings, from classrooms to offices to homes. To keep these boards in top condition, it is essential to maintain the erasers used to wipe them clean. Over time, dry erase erasers can accumulate dirt, ink residue, and other debris, reducing their effectiveness. In this guide, we will explore the importance of cleaning dry erase erasers and provide detailed steps and tips for ensuring they remain efficient and long-lasting.
Understanding the Importance of Clean Dry Erase Erasers:
Dry erase erasers play a crucial role in maintaining the cleanliness and usability of dry erase boards. When erasers become dirty or clogged with ink residue, they can leave streaks or smudges on the board, making it challenging to write or erase effectively. Additionally, a dirty eraser can transfer dirt and ink back onto the board, leading to a cycle of inefficiency and frustration.
Step 1: Assessing the Condition of the Eraser
Before embarking on the cleaning process, it is essential to assess the condition of the dry erase eraser. Look for signs of dirt buildup, ink residue, or general wear and tear. If the eraser appears heavily soiled or damaged, it may be time for a thorough cleaning or replacement.
Step 2: Removing Loose Debris
To begin the cleaning process, gently tap the eraser against a hard surface to dislodge any loose debris. This can help remove excess dirt, dust, and dry erase marker residue that may be trapped in the eraser’s fabric or surface.
Step 3: Using a Lint Roller
A lint roller can be a useful tool for removing stubborn debris from a dry erase eraser. Simply roll the lint roller over the surface of the eraser to pick up dirt, dust, and other particles. This can help prepare the eraser for more thorough cleaning.
Step 4: Cleaning with Mild Soap and Water
For a deeper clean, prepare a solution of mild soap and water. Dip a sponge or cloth into the soapy water and gently scrub the surface of the eraser. Pay attention to areas with heavy staining or buildup, and continue scrubbing until the eraser appears clean.
Step 5: Rinsing and Drying
After cleaning the eraser with soapy water, rinse it thoroughly under running water to remove any soap residue. Squeeze out excess water and allow the eraser to air dry completely before using it again. Avoid exposing the eraser to direct heat sources, as this can cause damage.
Step 6: Disinfecting the Eraser
In environments where hygiene is a concern, such as classrooms or shared workspaces, it is important to regularly disinfect dry erase erasers. To disinfect an eraser, use a solution of water and vinegar or a commercial disinfectant spray. Wipe down the eraser with the disinfectant solution and allow it to air dry before use.
Step 7: Storage and Maintenance Tips
Proper storage and maintenance can extend the life of a dry erase eraser and ensure optimal performance. When not in use, store the eraser in a clean and dry location away from direct sunlight. Avoid placing heavy objects on top of the eraser, as this can deform its shape and reduce effectiveness.
Step 8: Regular Inspection and Replacement
Periodically inspect dry erase erasers for signs of wear, damage, or excessive dirt buildup. If an eraser no longer effectively removes dry erase marker residue or leaves streaks on the board, it may be time for replacement. Investing in high-quality erasers can help maintain the cleanliness and longevity of dry erase boards.
Step 9: Alternative Cleaning Methods
In addition to the traditional soap and water method, there are several alternative cleaning techniques you can try to keep your dry erase eraser in top condition. One effective method is using a white vinegar solution. Mix equal parts of water and white vinegar in a bowl and soak the eraser in the solution for a few minutes. Then, gently scrub the eraser with a soft brush or sponge to remove stubborn stains and dirt. Rinse the eraser thoroughly with water and let it air dry before using it again.
Another popular alternative cleaning method involves using a magic eraser sponge. These melamine foam sponges work wonders on tough stains and marks on dry erase erasers. Simply dampen the magic eraser sponge and gently rub it over the surface of the eraser to lift off dirt and grime. Be sure to rinse the eraser after using the magic eraser sponge to remove any residue.
Step 10: Preventive Maintenance Tips
To reduce the frequency of deep cleaning sessions for your dry erase erasers, consider implementing preventive maintenance measures. One simple tip is to tap the eraser against the board after each use to dislodge any excess marker residue. This can help prevent the buildup of dirt and ink on the eraser’s surface.
Additionally, storing dry erase markers horizontally instead of vertically can prevent ink from seeping into the eraser and causing stains. Similarly, storing erasers in a container or holder when not in use can help protect them from dust and debris, prolonging their lifespan.
Step 11: DIY Eraser Refreshing Techniques
If your dry erase eraser has lost its effectiveness and no amount of cleaning seems to revive it, don’t despair. There are several DIY refreshing techniques you can try to breathe new life into your eraser. One popular method is to sprinkle baking soda over the eraser and gently rub it in with a damp cloth. The abrasive nature of the baking soda can help lift off stubborn stains and refresh the eraser’s surface.
Another DIY eraser refreshing technique involves using rubbing alcohol. Dampen a cloth or cotton ball with rubbing alcohol and gently wipe down the eraser. The alcohol helps break down ink residue and dirt, leaving the eraser clean and ready for use. Remember to rinse the eraser thoroughly with water and let it dry completely before using it on the board.
Step 12: Professional Cleaning Services
For heavily soiled or damaged dry erase erasers that require specialized cleaning, consider seeking professional cleaning services. Some companies offer eraser refurbishment services that can deep clean, disinfect, and restore erasers to like-new condition. While this may be a more costly option, it can be worthwhile for erasers that have significant buildup or staining that cannot be removed through regular cleaning methods.
Conclusion:
Maintaining clean and functional dry erase erasers is essential for ensuring the longevity and efficiency of dry erase boards. By incorporating a combination of cleaning techniques, preventive maintenance measures, and DIY refreshing methods into your eraser care routine, you can keep your erasers in top condition and enjoy a seamless writing and erasing experience. Remember, a well-maintained eraser is the key to a clear and productive workspace.