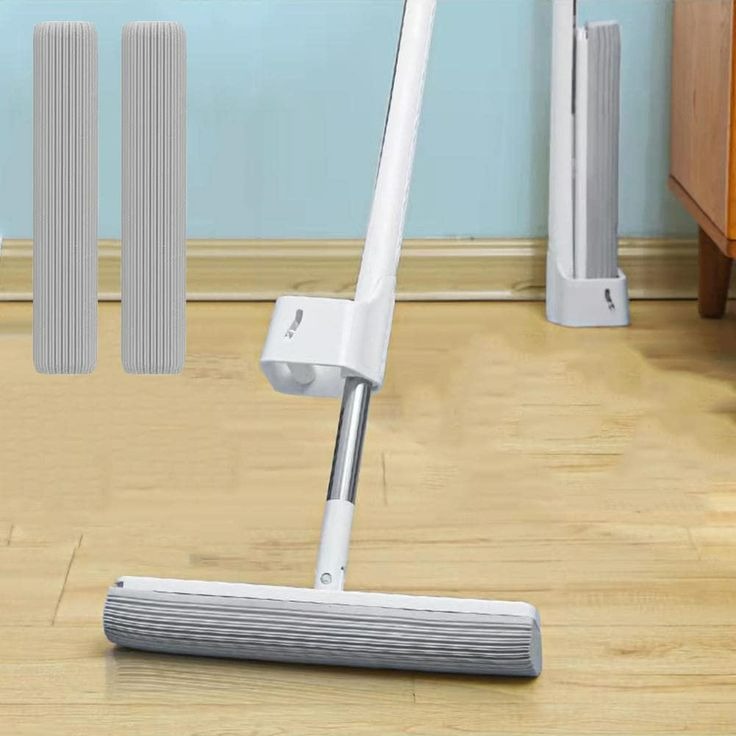
Choosing the Right Dry Mop for Your Flooring
Choosing the right dry mop for your floors is crucial. Here are some tips to help you select the best one. First, consider the material of your floors. Different materials such as hardwood, tile, or laminate need different types of dry mops. For instance, microfiber mops work well on almost all types of floors due to their ability to attract dust and hair.
Next, think about the size and shape of the mop head. Larger mop heads cover more area, which saves time. However, they might not fit into tight spaces. Triangle-shaped mop heads can reach corners easily.
You should also look at the handle’s length and adjustability. An adjustable handle ensures that you can mop comfortably, regardless of your height. Additionally, an ergonomic grip reduces strain on your hands and wrists.
Lastly, take into account the ease of maintenance. Choose a dry mop with a washable or replaceable pad. This makes it easy to keep your mop clean and effective.
Remember, a good dry mop is an investment in keeping your floors sparkling clean. Make sure to choose one that suits your specific needs.
The Art of Dry Mopping: Techniques and Patterns
Mastering dry mopping is not just about the equipment; it’s also about the technique. A proper dry mopping routine ensures your floors stay in top shape. Here are some methods and patterns to make the most out of your dry mop sessions:
- Figure-Eight Pattern: Move the dry mop in a ‘figure-eight’ pattern. This motion helps to collect more dust and debris, and it prevents pushing dirt around. It’s effective for large, open areas.
- Edge First: Always start at the edges of a room and then work your way towards the center. This technique gathers dust from the corners and prevents it from spreading across the floor.
- Overlap Your Strokes: make sure your strokes overlap slightly. This ensures you don’t leave any streaks of dust behind. It’s like making sure every part of the floor gets attention.
- Regular Shakes: Periodically shake the dry mop head out over a trash can or outdoors. It prevents the buildup of dirt on the mop, which could scratch your floor.
- Section by Section: Break down the room into sections and focus on one at a time. This methodical approach ensures thorough cleaning and makes the task seem less daunting.
- Maintain a Rhythm: Keep a consistent rhythm and pace as you mop. It helps in covering the floor uniformly without missing spots.
Employing these dry mopping techniques regularly, with the right type of dry mop, will leave your floors clean with a lasting sparkle. Remember to be gentle; a dry mop doesn’t require a lot of force—let the microfibers do the work. Happy mopping!
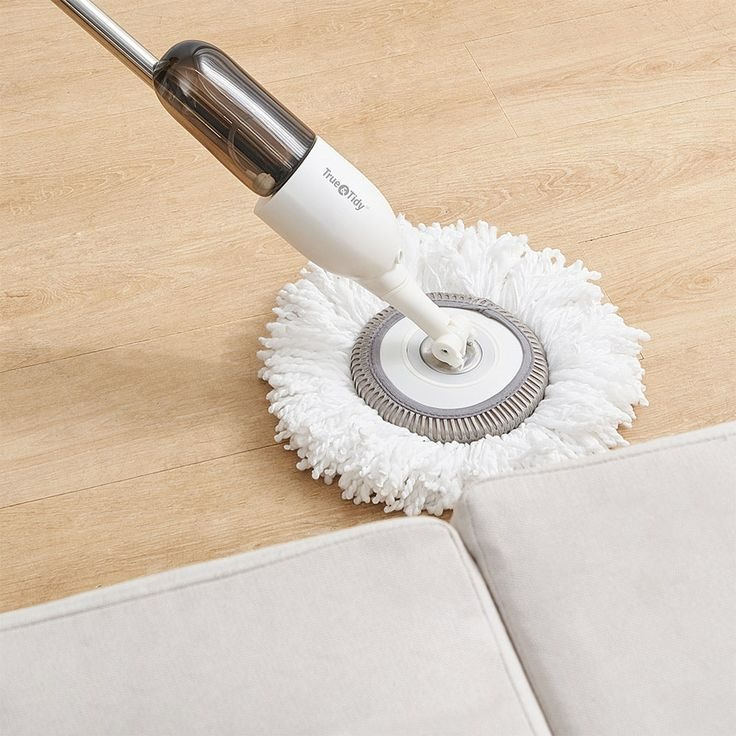
Caring for Your Dry Mop: Maintenance and Cleaning
Caring for your dry mop is key for its longevity and continued performance. Ensure your mop stays effective with these tips:
- Regular Washing: Clean the mop pad after each use. If it’s washable, toss it in the washing machine. Use a gentle cycle and mild detergent. Avoid fabric softeners as they can leave a residue that hinders the mop’s ability to attract dust.
- Air-Dry the Pad: After washing, air-dry the pad completely before reattaching it to the mop head. Never use a tumble dryer as high heat can damage the microfibers.
- Replace Pads When Needed: Check the pad regularly for wear and tear. Replace it when it looks frayed or doesn’t collect dust as it once did.
- Deep Clean the Mop Head: Occasionally, you should clean the actual mop head. Use a brush to remove hair and debris. Wipe it down with a damp cloth and a mild cleanser. This prevents the buildup of grime that could damage your floors.
- Proper Storage: Store the dry mop with the head up or hanging. This prevents the mop pad from getting crushed or deformed. It also helps avoid the growth of mold and mildew if the pad isn’t completely dry.
- Handle Care: Wipe the handle with a damp cloth now and then to keep it free of dust and grime.
By following these maintenance and cleaning steps, your dry mop will continue to efficiently clean your floors. Proper care also saves money in the long run by extending the life of your mop.
Enhancing Dry Mop Efficiency: Tips and Tricks
To boost your dry mop’s performance, here are simple yet impactful tips and tricks:
- Pre-Clean the Area: Before mopping, quickly sweep or vacuum. This removes larger debris, enhancing your dry mop’s efficiency.
- Right Angle Technique: Use the mop at an angle. It maximizes contact with the floor and improves dust collection.
- Regular Mop Head Flipping: Flip the mop head during use. It exposes a fresh surface, trapping more dust.
- Use Multiple Pads: For larger areas, switch between multiple pads. It avoids overloading one and maintains cleaning effectiveness.
- Proper Pressure Application: Apply gentle pressure while mopping. It helps the microfibers grab more dust without damaging the floor.
- Static Electricity Benefit: Increase static by quickly rubbing the microfiber pad. It enhances the dry mop’s dust attraction.
- Optimize Your Movements: Use long, smooth strokes. This approach prevents scattering the dust and covers the area efficiently.
- Mind the Frequency: More frequent mopping reduces overall cleaning time by preventing dust buildup.
By integrating these tips and tricks into your routine, your dry mop becomes more effective. Happy cleaning!
Addressing Specific Floor Types: Hardwood, Tile, and Laminate
When you’re armed with a dry mop, you must tailor your approach to the floor type. Here’s how you can tackle three common materials: hardwood, tile, and laminate.
Hardwood Floors
Hardwood demands care to maintain its sheen. Use a soft microfiber dry mop; it’s gentle and effective. Sweep with the grain of the wood to capture more dust and lessen scratches. Too much force can harm the finish, so mop lightly.
Tile Floors
Tile is durable but has grooves where grime hides. Choose a dry mop with a textured pad to reach into these spaces. Clean the mop head regularly as you work, preventing dirt from resettling into grout lines.
Laminate Floors
Laminate can mimic hardwood but requires its own cleaning method. A flat microfiber mop is ideal. It traps particles without leaving streaks, keeping laminate looking fresh. Swap out the pads as needed to avoid distributing dirt.
Each floor type benefits from specific dry mop features. Remember to keep your mop’s pad clean and maintain a consistent cleaning rhythm. This ensures your floors remain sparkling across all materials.
Dry Mop Accessories and Attachments for Improved Cleaning
Enhance your dry mopping with the right accessories and attachments. Better cleaning awaits with these additions:
- Dustpan and Brush Set: Pair your dry mop with a dustpan and brush. Quickly collect the piles of dust and debris after mopping.
- Extension Poles: Attach extension poles to reach high places. Easily dust ceilings and crown moldings with your dry mop.
- Microfiber Pad Varieties: Keep different types of microfiber pads on hand. Use softer ones for delicate surfaces and textured ones for more grip.
- Mop Organizer: Invest in a mop organizer. Keep all your cleaning tools in one place, ready for action.
- Telescopic Handles: Use telescopic handles to adjust the mop’s length. Perfect fit every time, whether you’re tall or short.
- Edge Cleaners: Look for dry mops with edge cleaners. They help tackle the dust along baseboards and in corners.
By adding these accessories and attachments to your dry mop, you make cleaning easier and more efficient. Match them to your home’s needs and enjoy cleaner floors with less effort.
The Dos and Don’ts of Dry Mopping
Dry mopping can be simple, but it’s important to follow certain guidelines. Here are the dos and don’ts to remember:
Do:
- Use the Correct Mop: Different floors need different dry mops. Choose the right one.
- Follow the Grain: For hardwood, dry mop in the direction of the wood grain.
- Swap Heads Often: Change the mop pad when it gets dirty. Clean floors follow.
- Light Pressure Only: Gentle strokes are best. The microfibers need just a light touch.
- Clean Regularly: A quick dry mop regularly can prevent dirt buildup.
- Shake out Debris: After dry mopping, shake the dirt off the mop head.
Don’t:
- Reuse Dirty Pads: A dirty pad just spreads the dust. Switch it out.
- Get it Wet: A dry mop is for dry cleaning. Don’t use it wet.
- Push Too Hard: Avoid harsh scrubbing. It can damage floor finishes.
- Ignore the Handle: Clean and adjust the handle for comfortable use.
- Forget Maintenance: Wash and dry mop pads properly for their longevity.
- Skip Sections: Never miss a spot. Cover every part of the floor for even cleaning.
Adhering to these simple dos and don’ts will ensure you’re using your dry mop effectively and keeping your floors in top shape.
Comparison: Dry Mops vs. Wet Mops for Different Floorings
When cleaning floors, the choice between a dry mop and a wet mop matters. Each type offers distinct benefits depending on the flooring. Here, we compare their suitability for various floor types.
Hardwood Floors
Hardwood floors need care to avoid water damage. Dry mops are better because they use no water. Wet mops can cause warping if the wood absorbs moisture.
Tile Floors
Tile floors can handle wet mopping due to their waterproof nature. Wet mops can clean grout lines deeply. Dry mops are good for quick dust removal on tiles.
Laminate Floors
Laminate flooring is not waterproof like tile. Use a dry mop to avoid water damage. Wet mops might cause swelling or warping on laminate.
In general, use dry mops for daily dust and pet hair. Wet mops are for deeper cleaning, like in bathrooms or kitchens. Always check the floor manufacturer’s advice before choosing a cleaning method.